Break
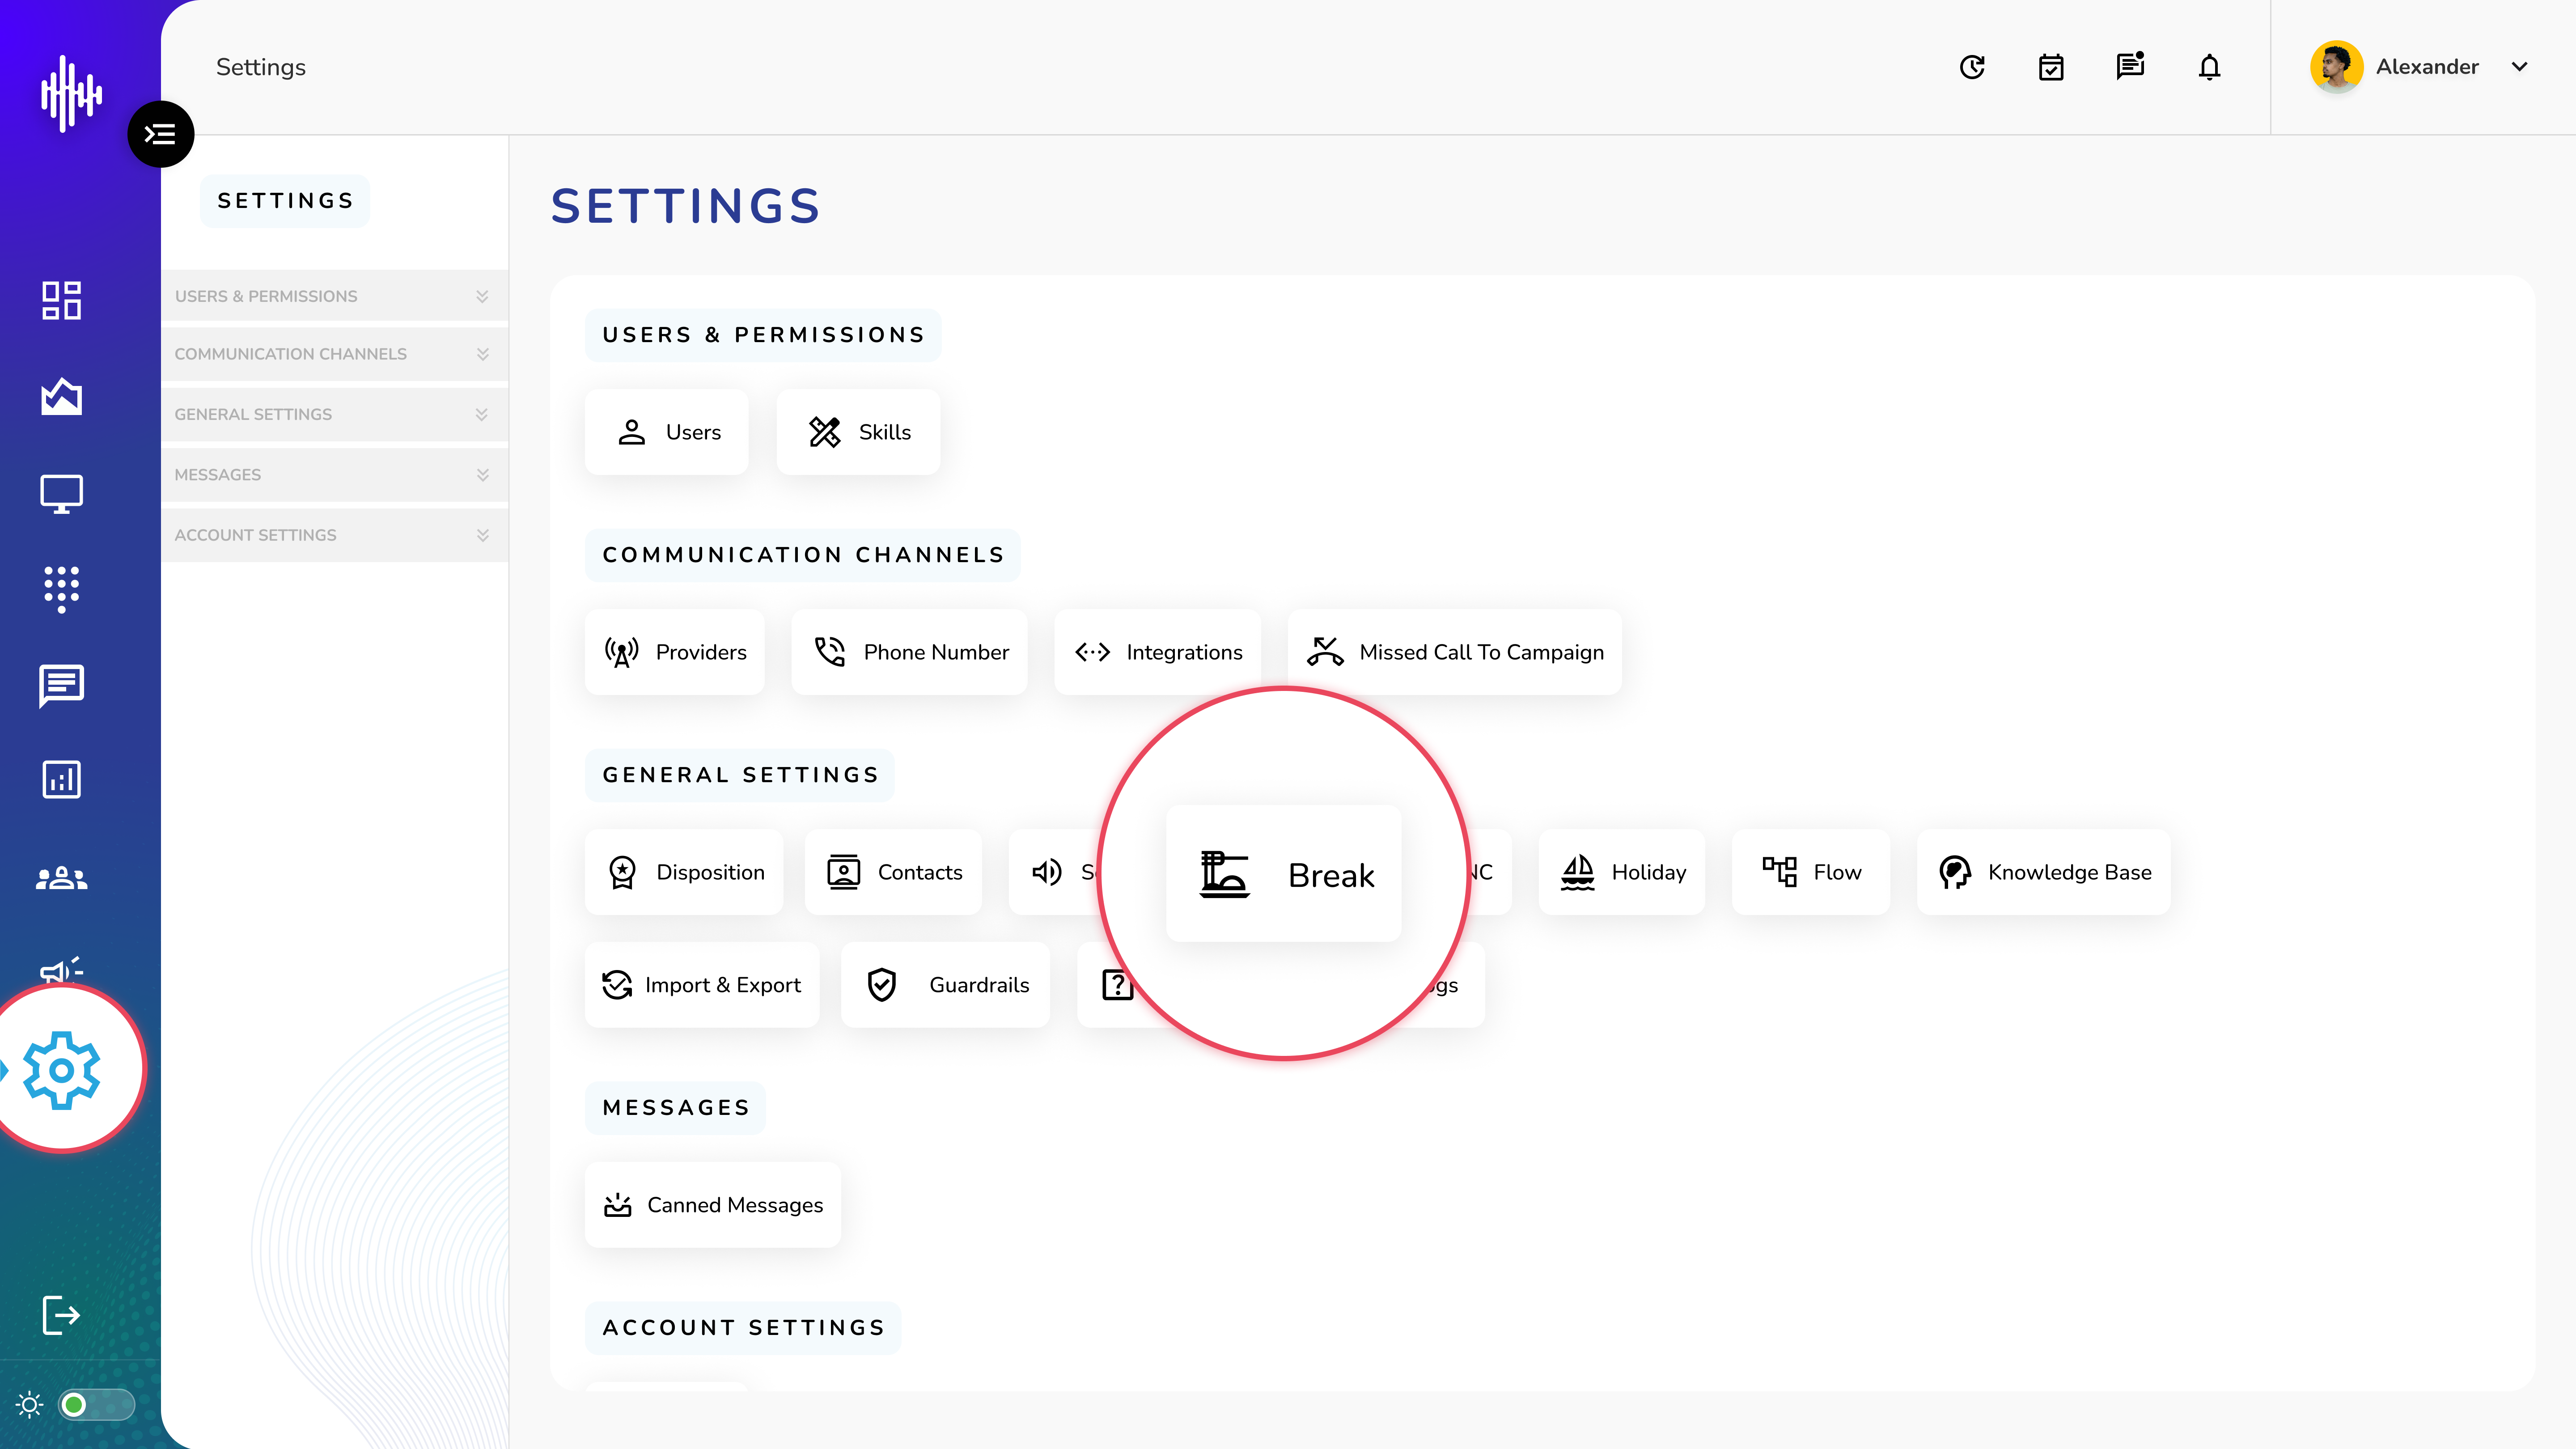
1. Login to your admin account
2. Click "Settings" from the left side menu
3. Click “Break” to access the Break's details.
Break Management
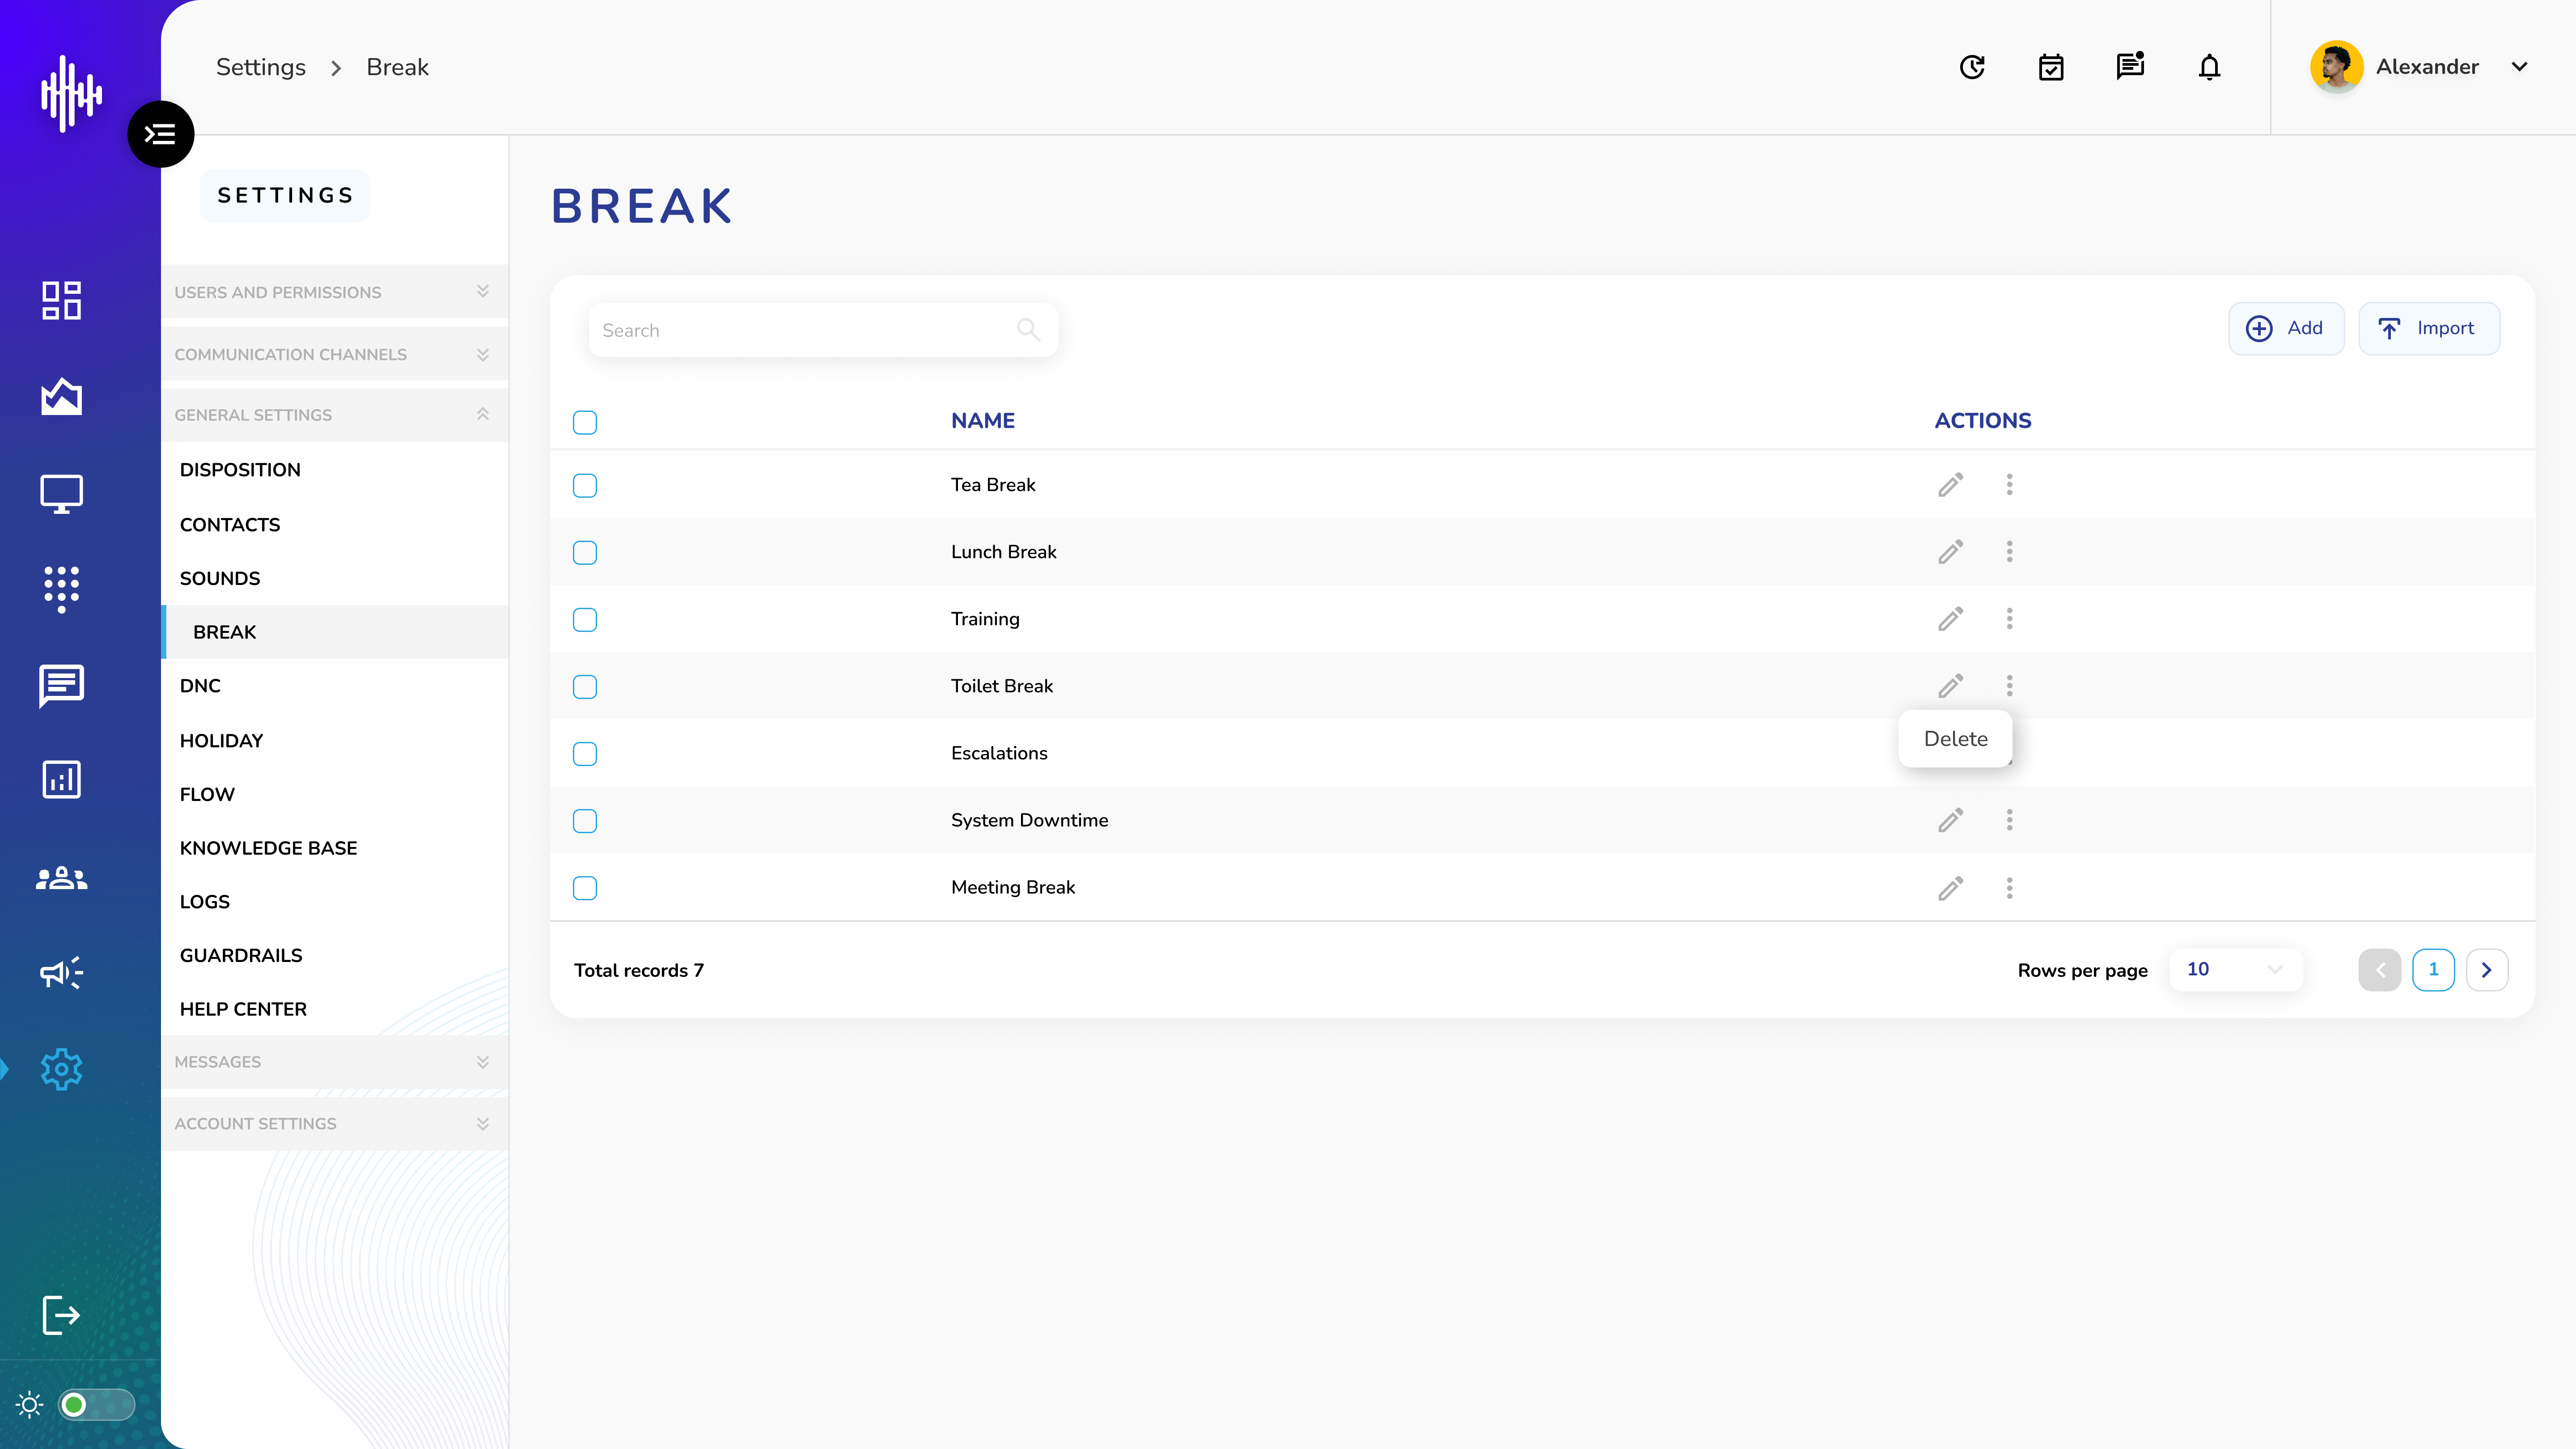
1. Break List View
a. Search Bar (Left side)
i. Filter breaks by name
b. Actions Per Break
| Action | Purpose |
|---|---|
| Name Columns | Display list names |
| Pencil Icon | Edit break details |
| Three Dots | Delete break |
2. Top Bar Features
a. "+Add" button: Create new break
b. "Import" button: Bulk import breaks
3. Navigation
a. Adjustable rows per page
b. Pagination controls at bottom
c. Total records counter
Important Notes:
-
Breaks affect agent availability
-
Verify before deleting breaks
-
Custom breaks can be added
-
Imported breaks must follow format
Add New Break Guide
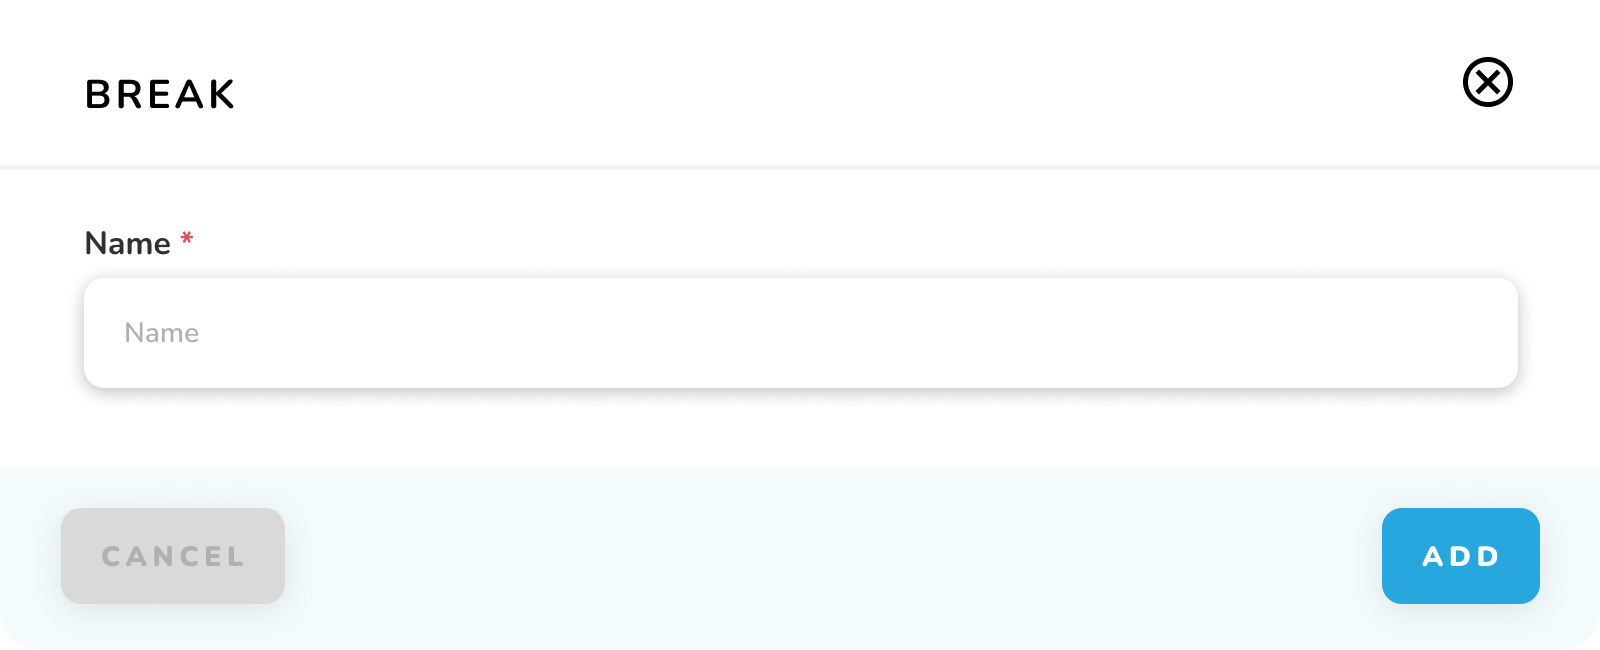
1. Required Fields
| Field | Description | Required |
|---|---|---|
| Name* | Break type identifier | Yes |
2. Steps to Add Break
a. Click "+Add" button
b. Enter break name
i. Use descriptive names (e.g., "Lunch Break", "Training")
ii. Name must be unique
3. Action Buttons
a. "CANCEL": Exit without saving
b. "ADD": Save new break type
Important Notes:
-
Field marked with * is mandatory
-
Choose clear, descriptive names
-
Break names should be easily identifiable
-
Break types can be used to track agent availability